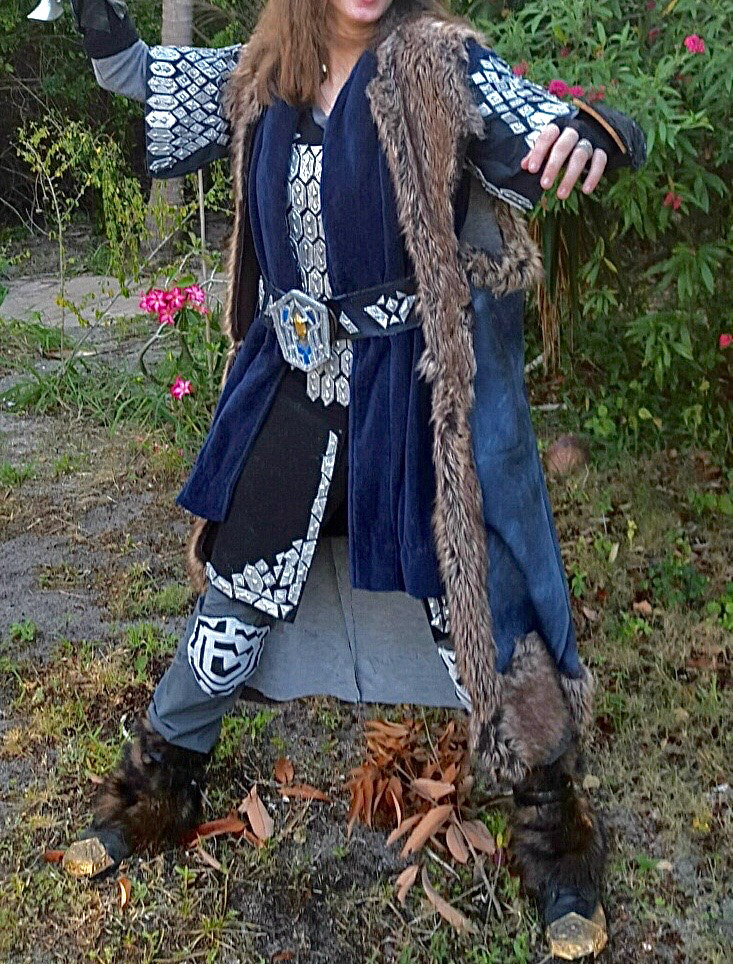
Thorin Oakenshield, dwarf king costume based from The Hobbit trilogy.
I wore this costume to the 2017 South Florida Renaissance Festival.
Faux leather, faux fur, plastic, cork, clay, genuine leather, felt, craft foam, vinyl, terry cloth, rising glue, crepe hair.
Unfortunately, most of my process photos were lost for this costume project due to a computer crash.
I bought all materials used to make this costume.
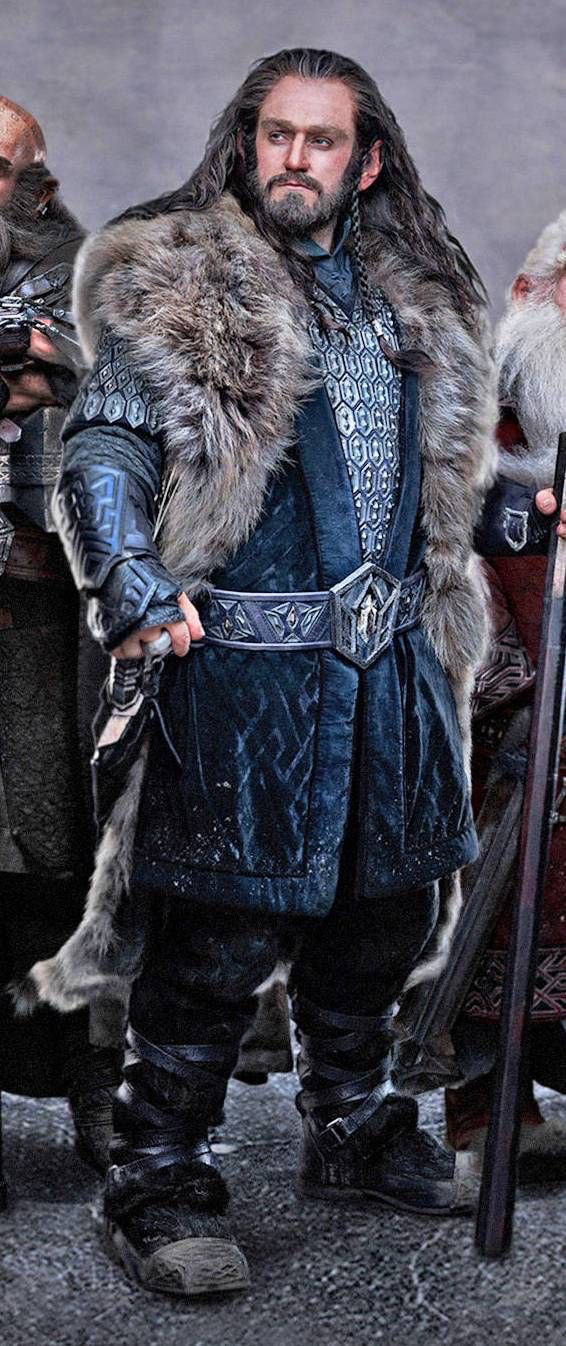
Reference photos of Thorin Oakenshield.
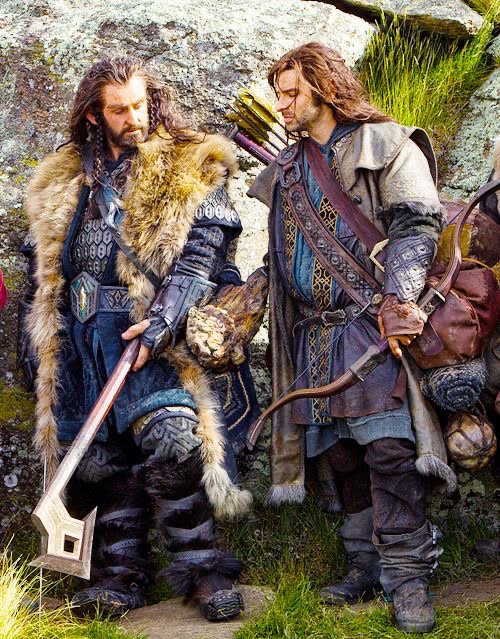
Reference photos of Thorin Oakenshield.

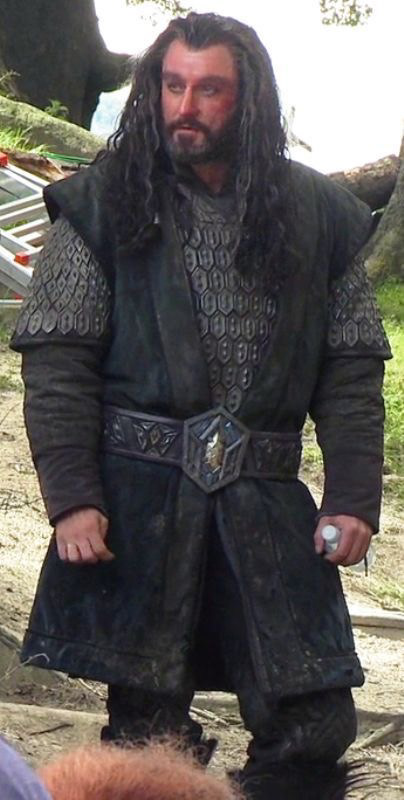
Reference photos of Thorin Oakenshield.
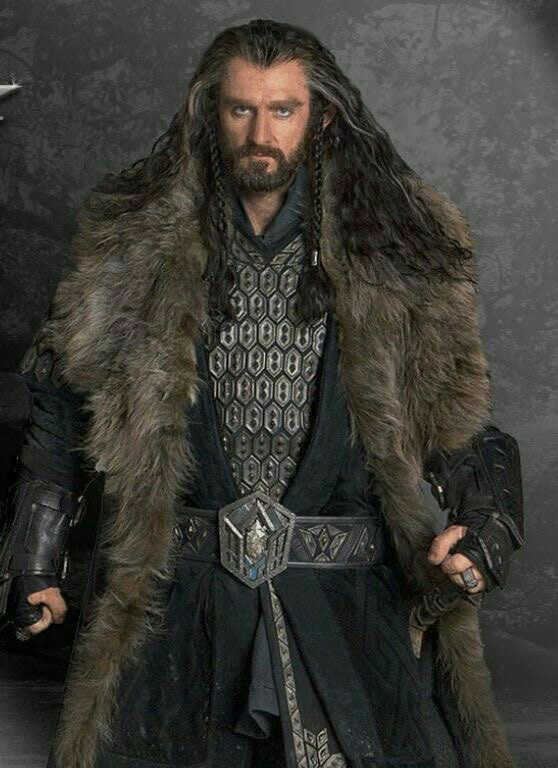
Reference photos of Thorin Oakenshield.
Reference photos of Thorin Oakenshield.

1. This costume required many layers of clothing, so to start off with, I found my materials for the clothing at a charity shop. For the tunic, I found a thick black shirt and bought two pieces of black fabric as the front flaps of the tunic. This would be the base for the armour pieces of the costume. I used a blue bath robe to create the undercoat, and bought rustic black pants for the outfit.
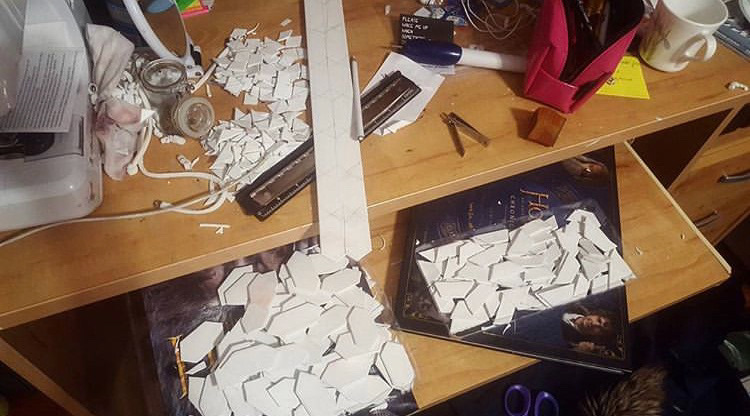
2. At first, I had no idea how to make the armour pieces. They needed to be sturdy and a material that could be cut small and look like metal in the end. At the time, out family had some old window blinds about to go in the trash, but I realized that the vinyl of the blinds could be perfect to cut the armour pieces out of. I marked out the shapes of the armour pieces and used industrial scissors to cut each piece from the blinds. I made over 200 pieces of each shape to go on the belt, the torso, front flaps and sleeves of the tunic. I spray painted all of the pieces with silver paint after using a burner and rising glue to embellish the diamond and studded designs on each piece of vinyl. I used hot glue and superglue to attach the pieces of armour to the tunic torso, front flaps and sleeves.
3. To create the coat, I bought blue faux leather offline and draped a mannequin to create a pattern for the coat. I handsewed the coat and lined the edges with faux fur. To age it, I rubbed the faux leather in with white chalk and brown shoe shine, sealing it with pastel chalk sealant. I used cork to create the belt buckle and clay as the jewels in the buckle. Using an xacto knife I cut the pieces of cork and carefully super glued them to the base piece of the buckle, later adding the clay jewels. The arm braces were made with cork and craft foam, which I cut into the geometric design and applied it to the top of the cork form of the braces. The knee patches on the pants were made from craft foam as were the bronze caps of the boots. I used velcro to attach the caps I had made to the toe of my boots and remove them when I wanted.

4. I put together the outfit and layered the gray shirt, tunic, undercoat, coat, arm sleeves, and arm braces.
