A Wendigo creature mask based off of deer and goat skulls. The mythology of the Wendigo comes from Native American cultures and would take forms of animal-human hybrids. 
Cardboard, paper mache, paint, clay, wire.
I bought all materials used for this mask.
First concept for wendigo costume/mask
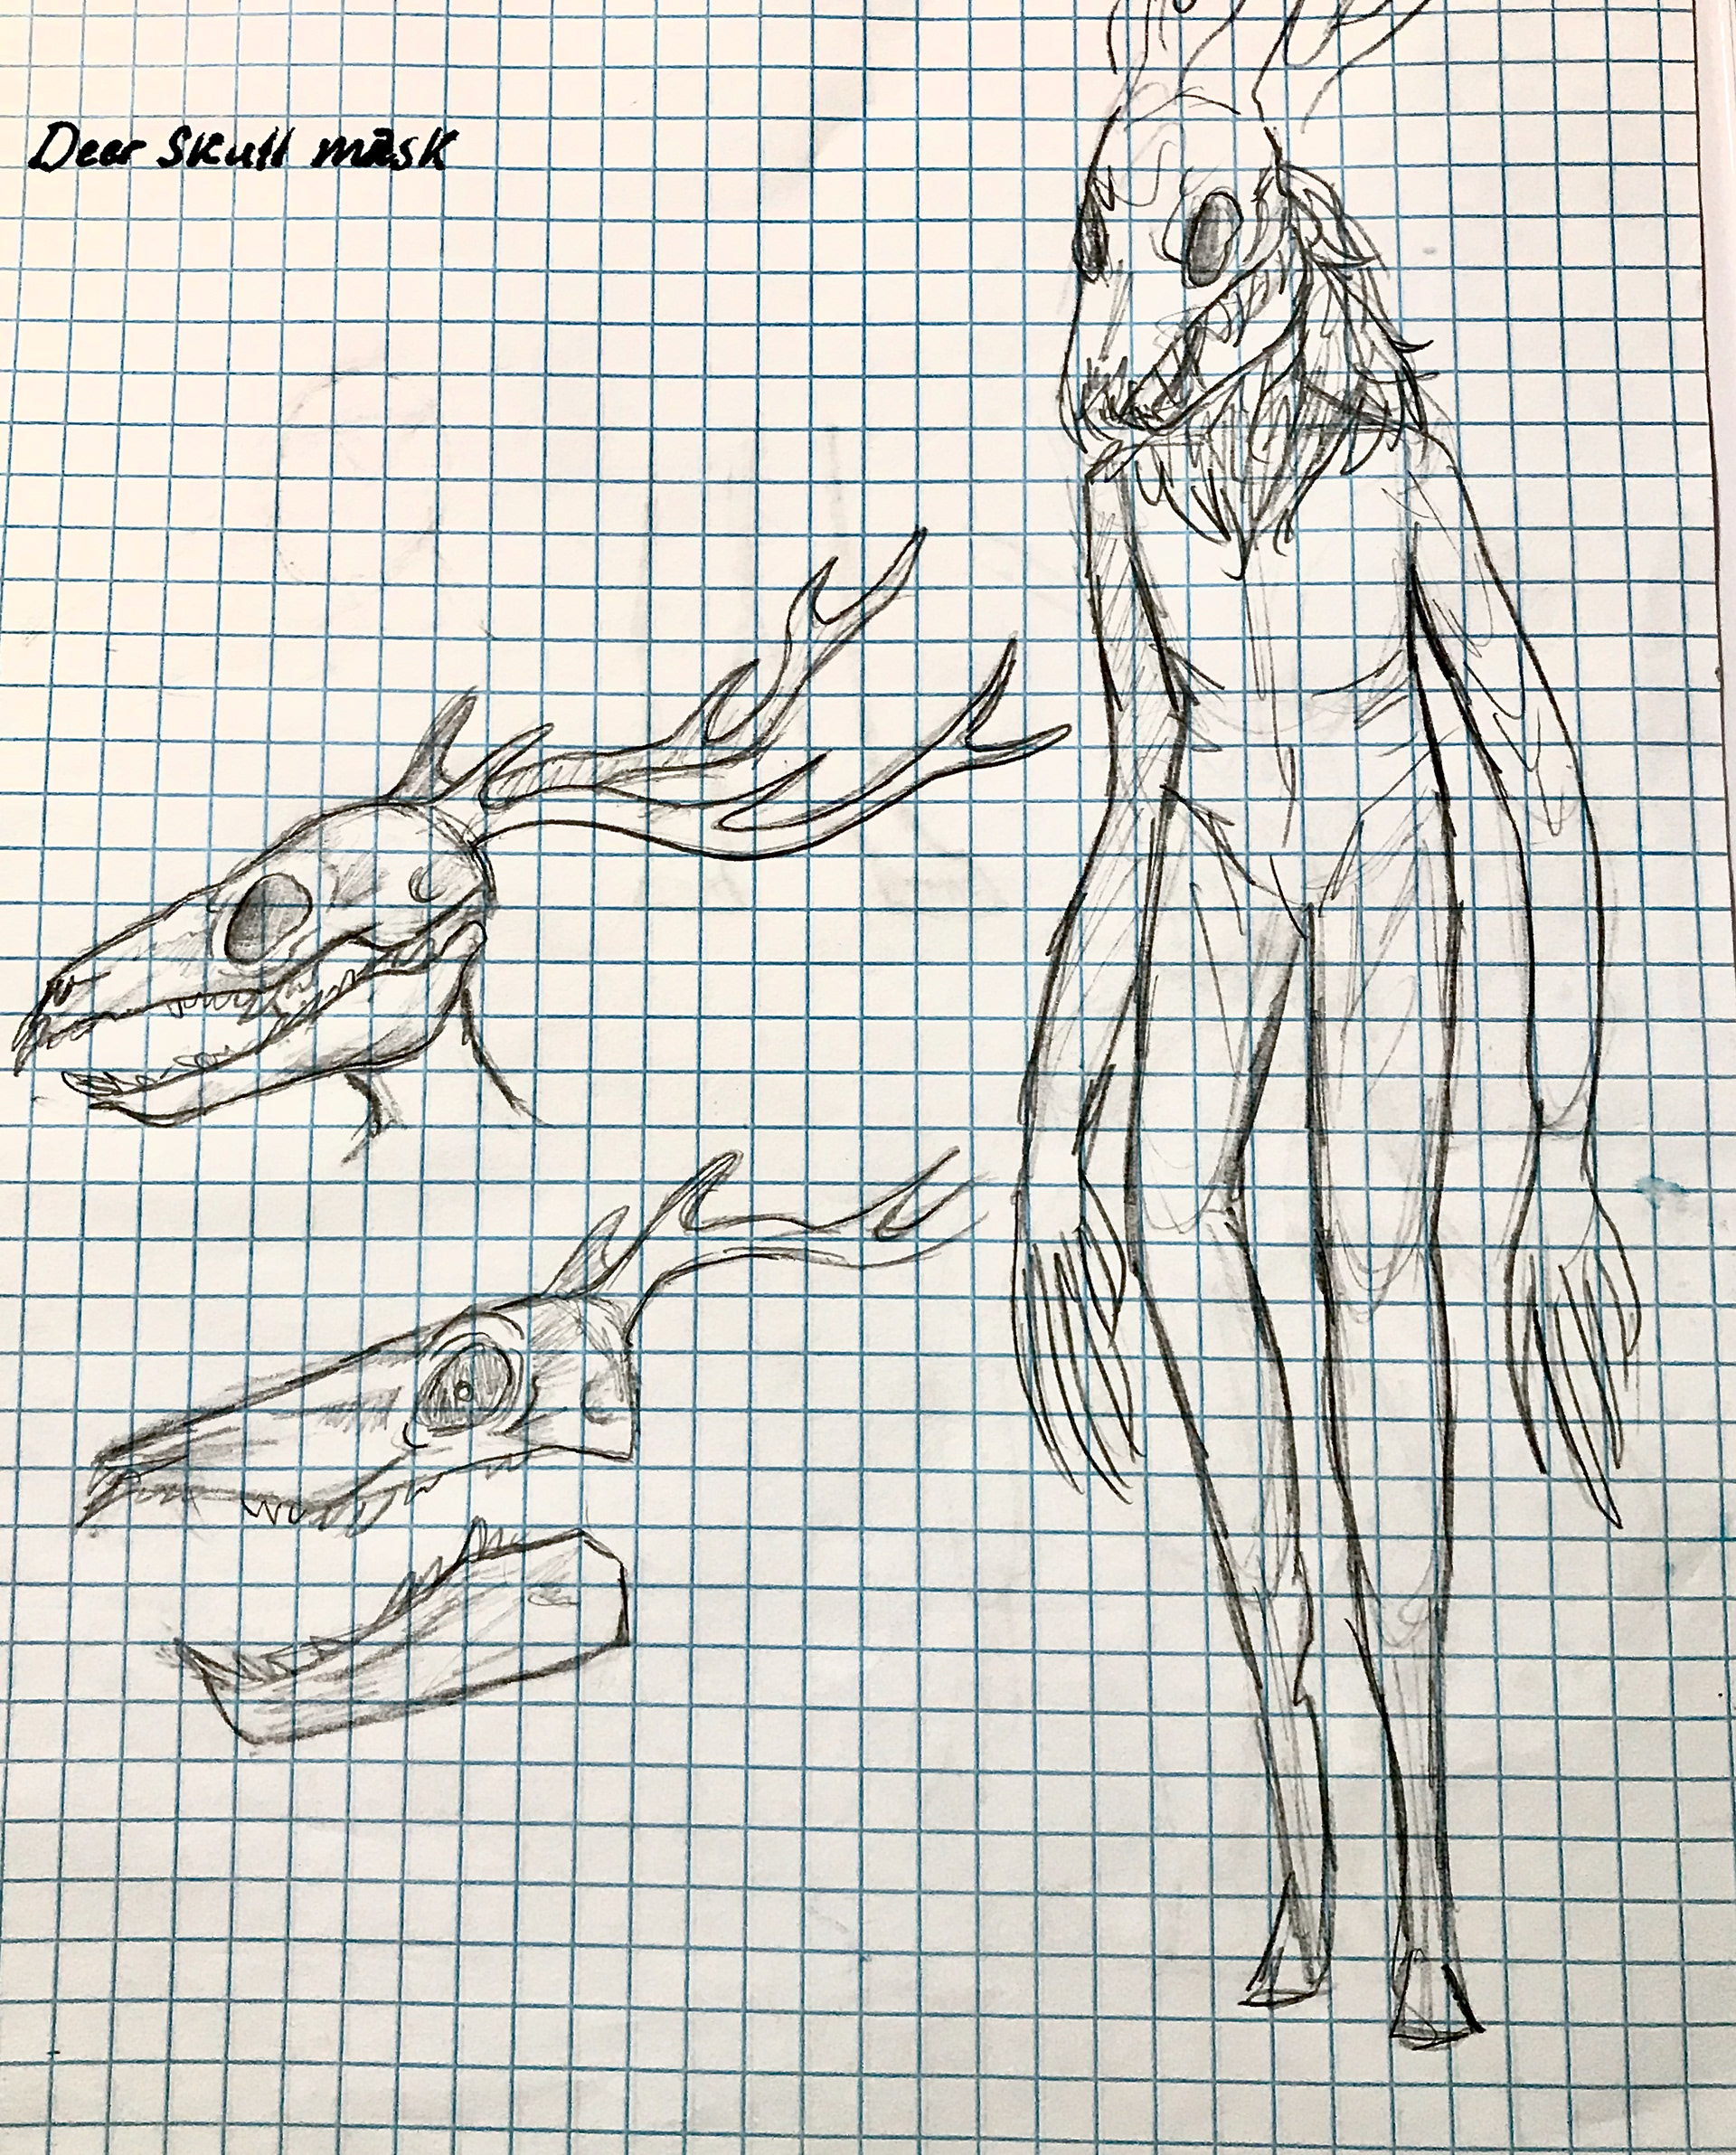
1. Final concept for wendigo costume/mask. I used references of....
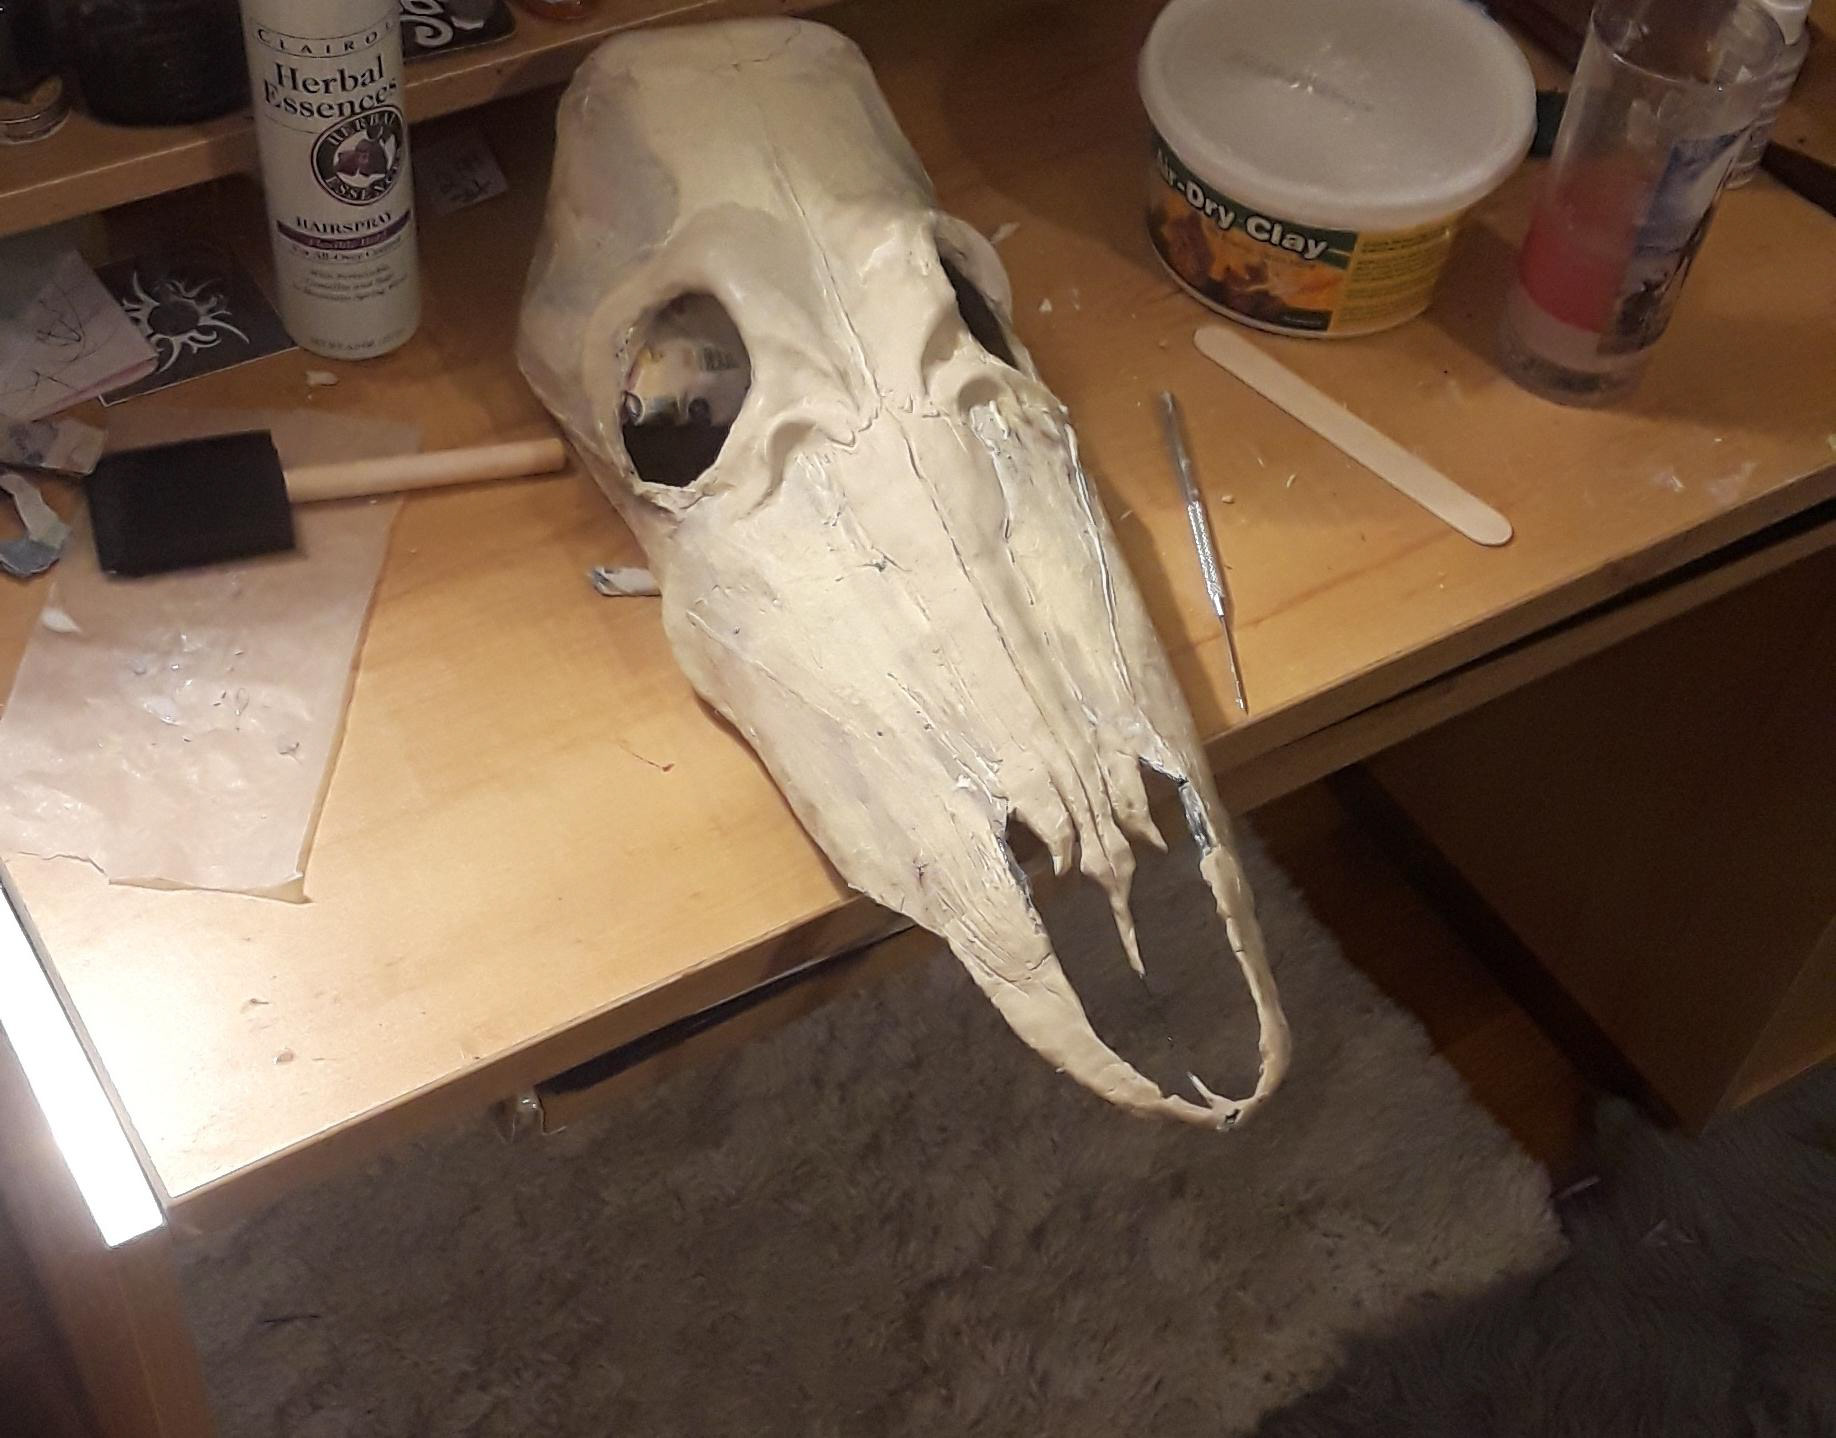
1. For the shape of the skull, I used a paper bowl as the crown of the head and a half-cylinder of cardstock for the snout. I taped the two shapes together and covered the entire structure with paper mache' around two times.
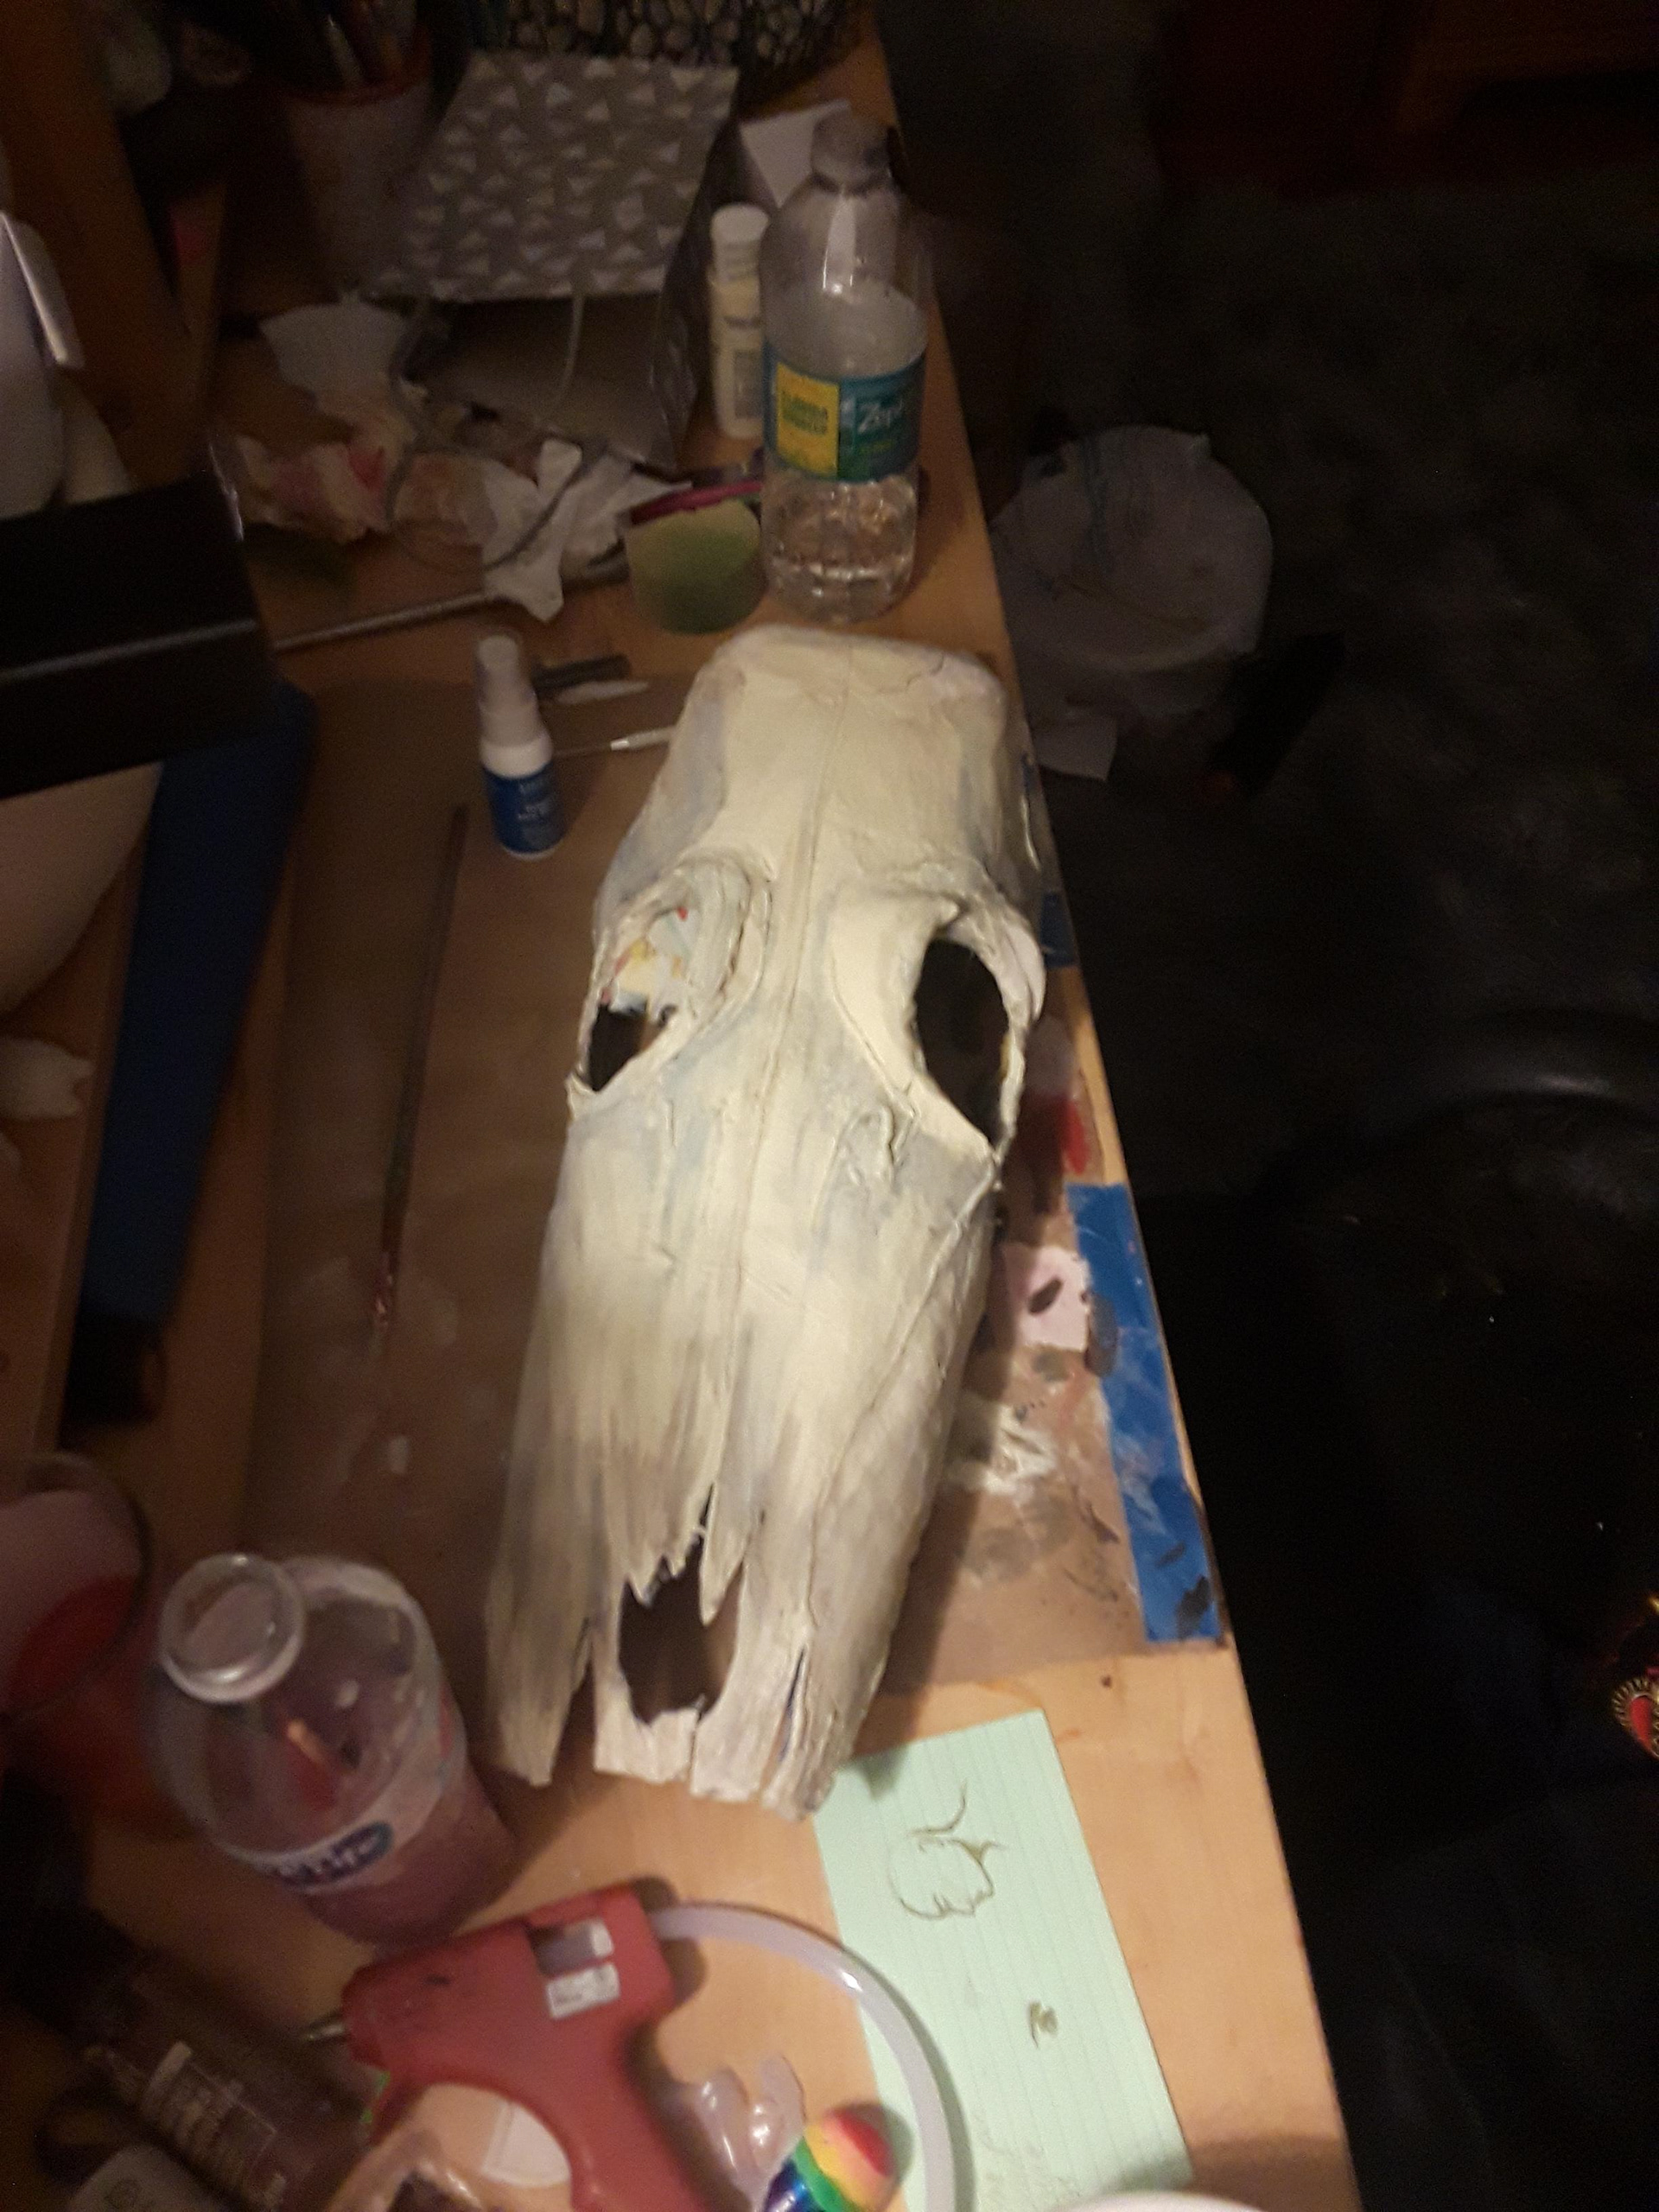
2. Once the paper mache had dried, I used an x-acto knife and box cutter to shape the holes of the eyes and create the gap of the nose. Using scissors I frayed the end of the snout like bone. I applied thick layers of acrylic paint to the entire skull, tracing out the areas where I would put clay to create the bone structure of the skull. This picture shows the first draft of the skull, which I was unsatisfied with. The snout was too boxy and the clay had not blended into the rest of the mask.
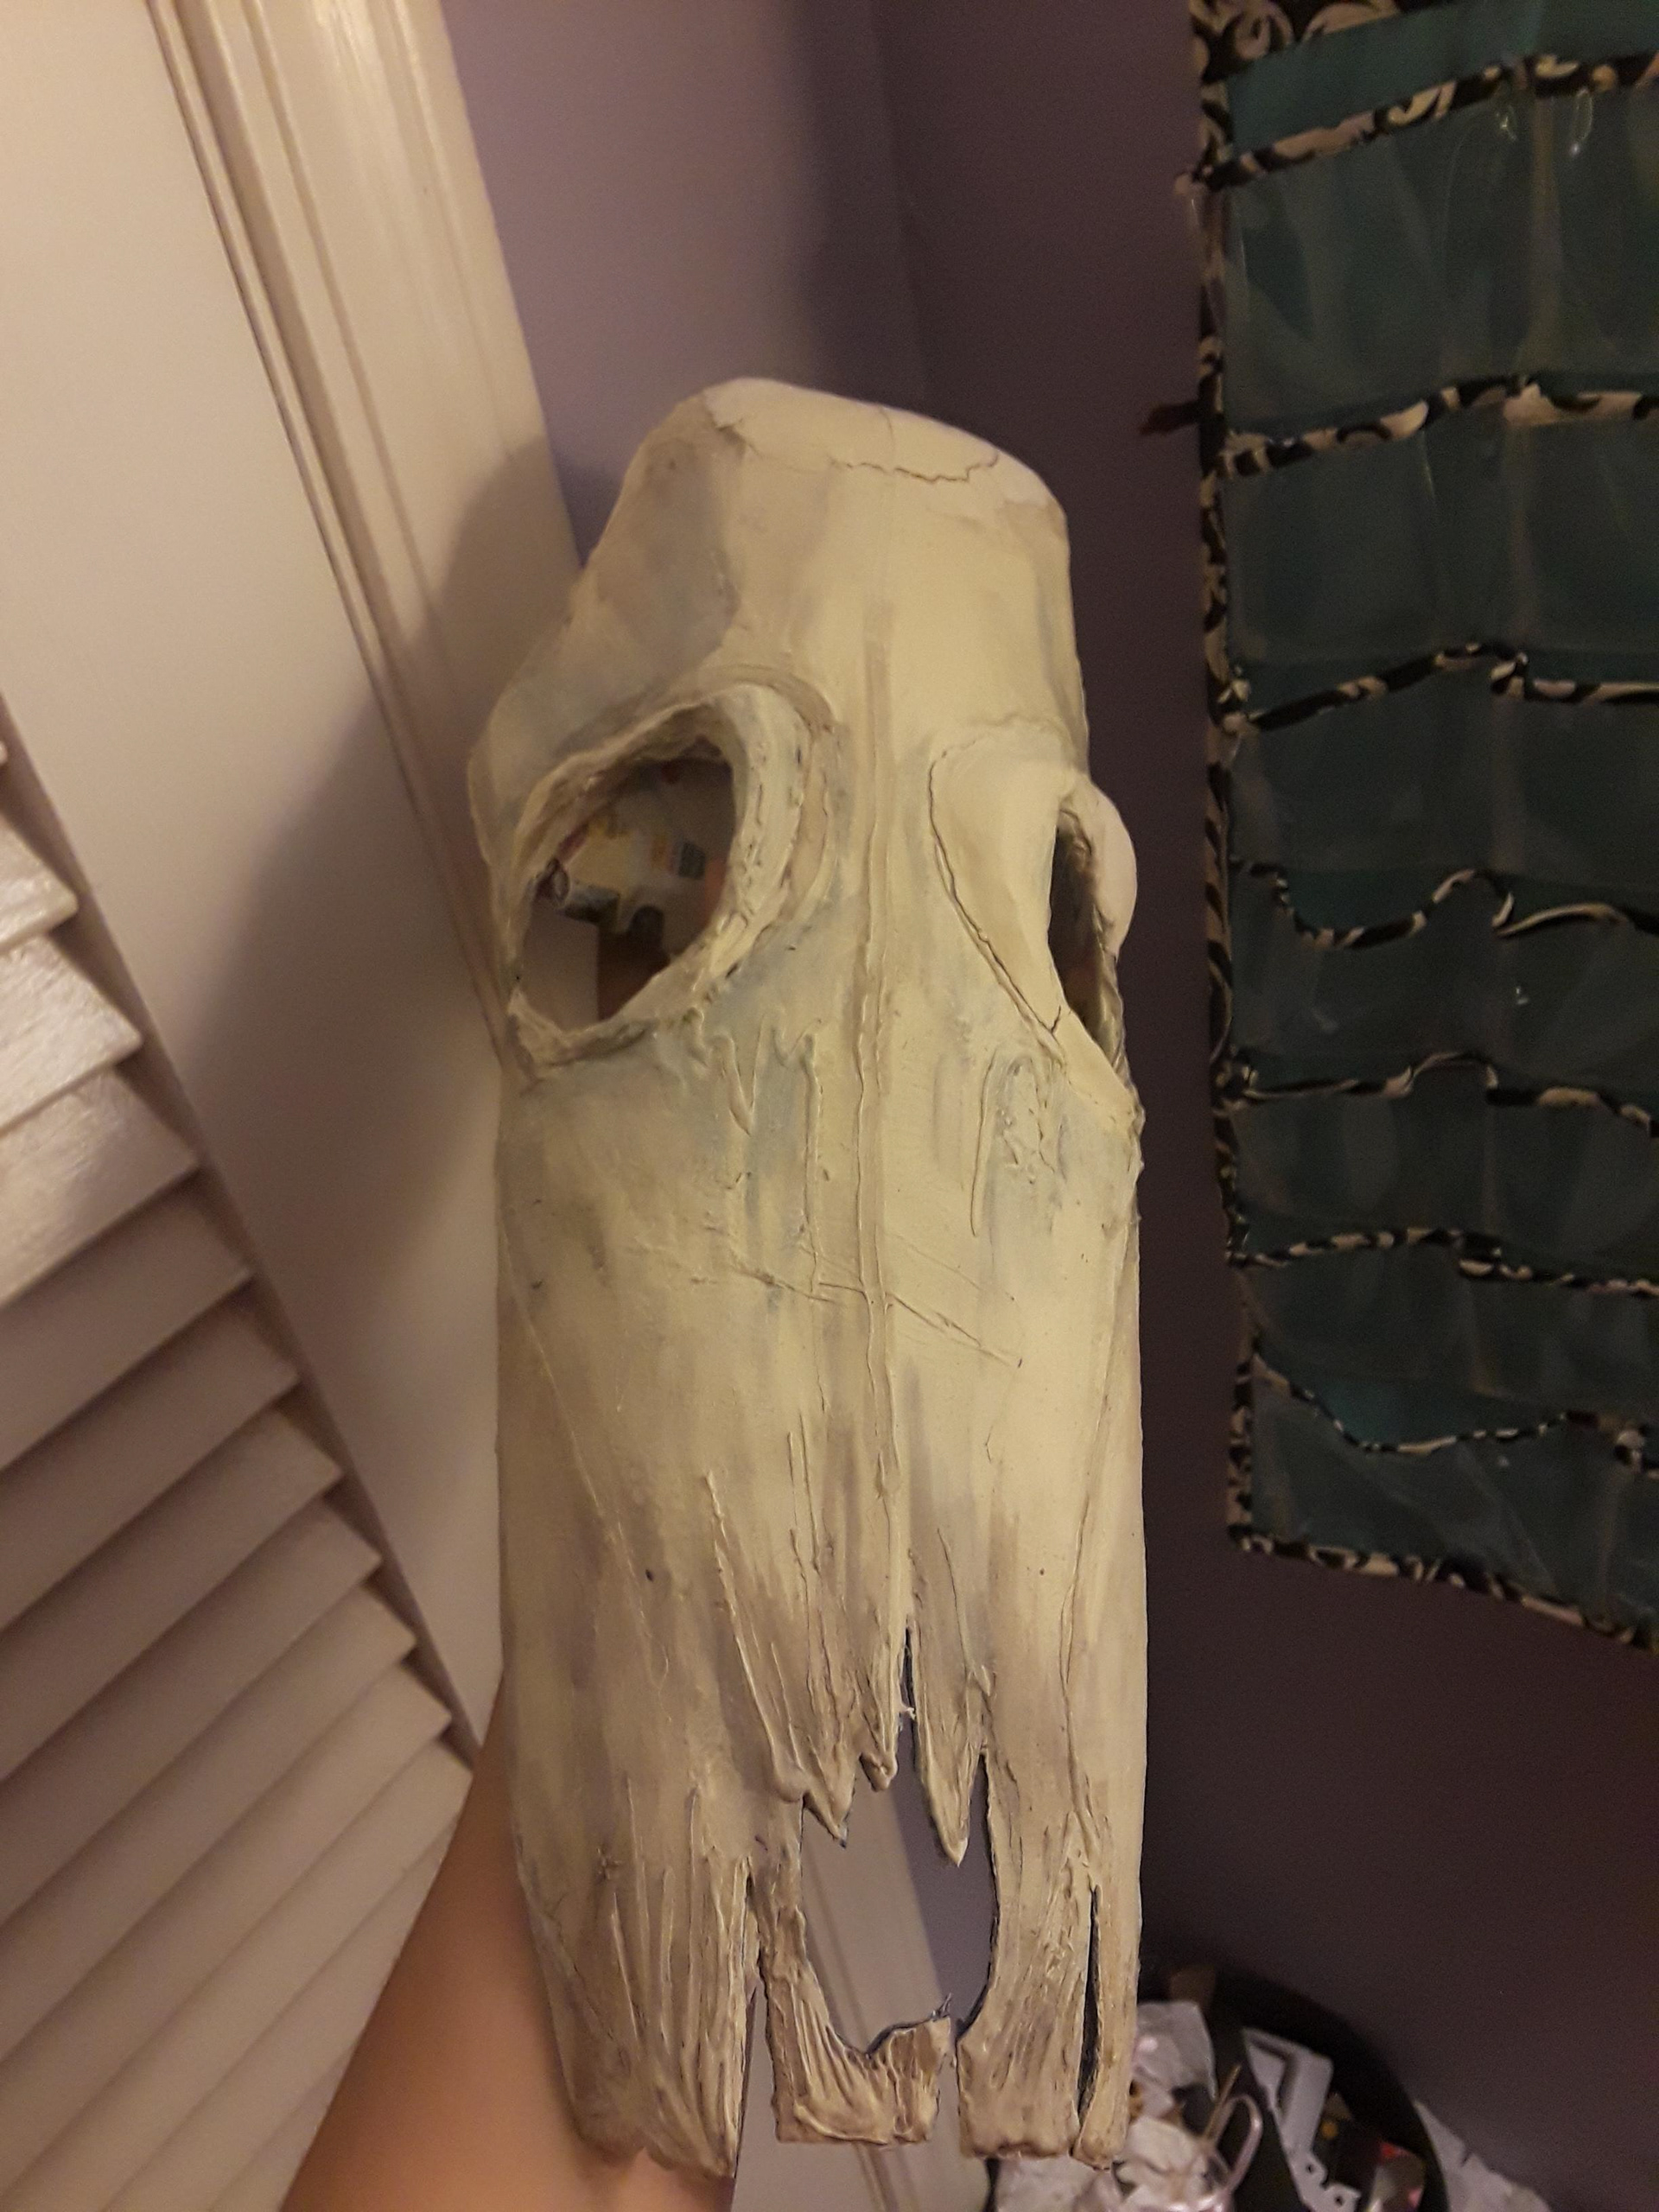
3. To improve the blending of the bone structure, I added more clay around the eye sockets of the mask. I arched the brow bones more and created more dips into the the length of the snout.
5. To make the snout less boxy and more accurate to a deer skull, I cut off the edges of the nose and slimmed down the overall shape of the mouth. I decided to add clay to the sides of the snout too, so there were no flat areas and the mask look like bone. To create the frayed ends of the nose I re-wet the paper mache and stuck short pieces of wire into the structure, then covered the wire with clay. Now the mask began to come alive.
6. For the final touches, the mask needed extra painting to give it the colour of bone. In the dips and crevices of the skull, I used watercolour on acrylic to create a light brown shadow to emphasize the likeness of bone. I painted with light brown along the snout and in the cracks of the crown for a more realistic look.
Back to Top